Supply and Demand Trading Explained: A Complete Guide for Prop Traders | Quant Funded
In modern financial markets, the ability to read price objectively is a decisive advantage—especially for traders aiming to pass a proprietary trading evaluation. While countless strategies rely on indicators, oscillators, or rigid patterns, supply and demand trading focuses on the true mechanics behind price movement: where institutional liquidity enters the market.
At Quant Funded, we evaluate traders based on discipline, consistency, and responsible risk. Understanding the logic of supply and demand is one of the most reliable ways to maintain precision and avoid emotional trading errors. This guide explains how supply and demand works, why institutions rely on it, and how prop traders can implement it to achieve consistent performance.
What Is Supply and Demand Trading?
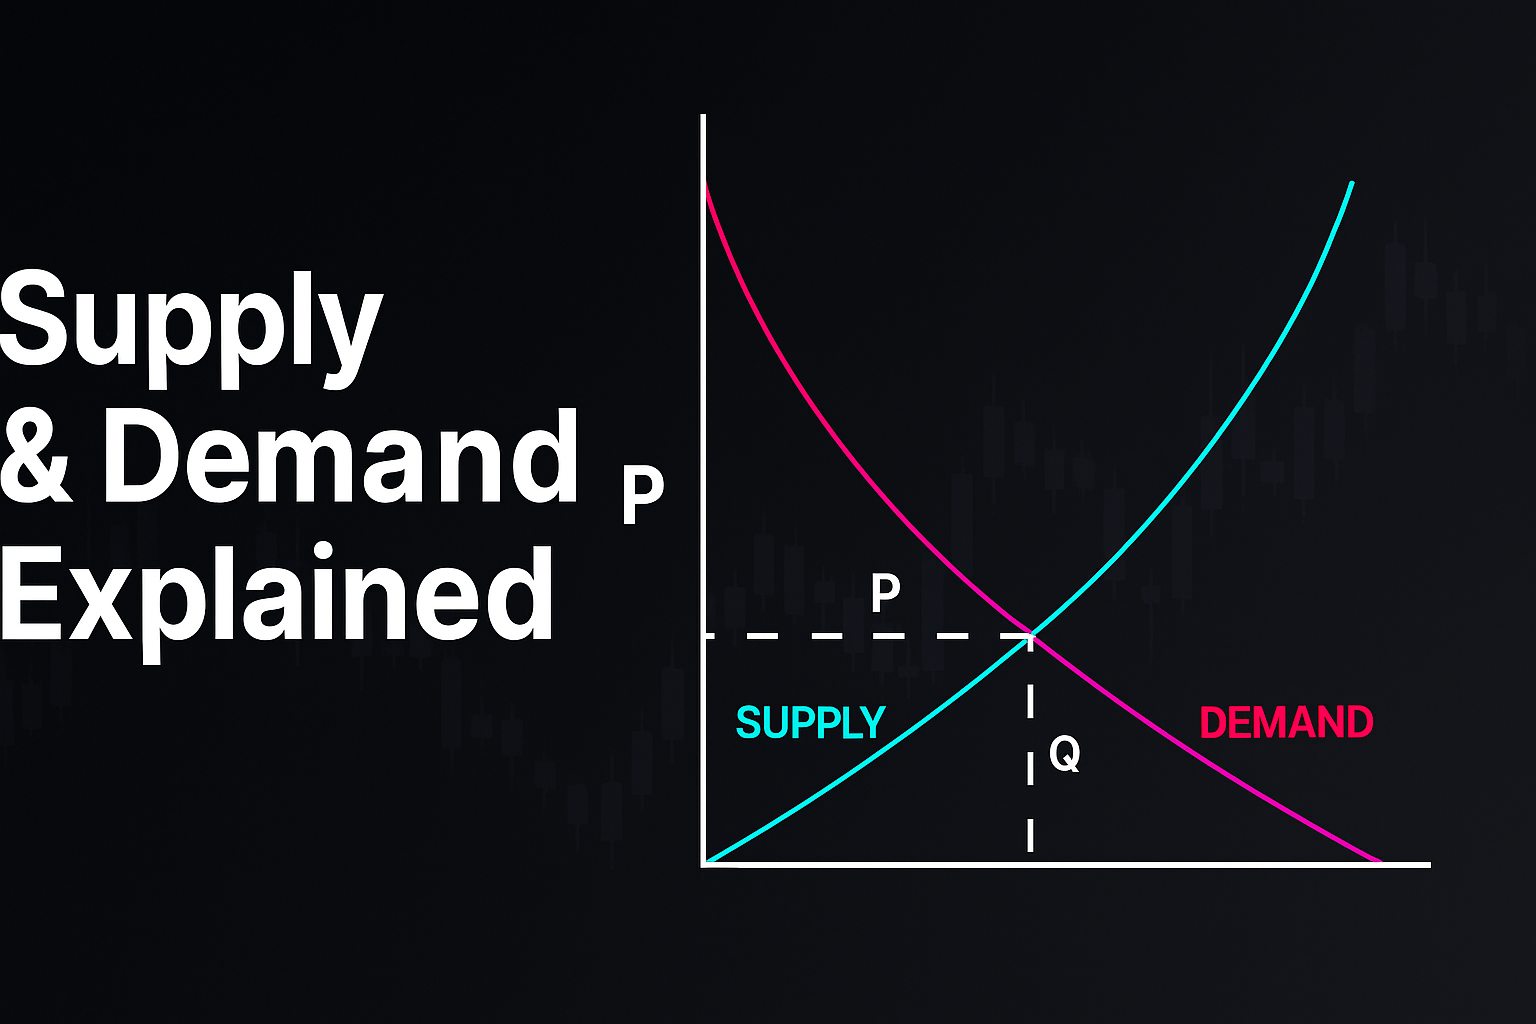
Supply and demand trading is a strategic, price-action–based approach grounded in a simple economic principle:
- Demand zones represent areas where buyers were aggressively active.
- Supply zones represent areas where sellers were aggressively active.
Unlike standard support and resistance levels—which often ignore the context behind price—supply and demand zones reflect real orderflow behavior. These zones commonly reveal where institutions accumulated or distributed large positions in the past.
Because large entities require significant liquidity, they often need price to revisit these zones so they can complete unfilled orders. As a result, supply and demand zones frequently act as powerful turning points that can be anticipated with a high degree of accuracy.
This alignment with institutional execution makes supply and demand an ideal strategy for retail prop traders seeking a rule-based, professional approach.
Why Price Actually Moves: The Truth Behind Market Behavior
Many beginners assume price rises because there are “more buyers” and falls because there are “more sellers.” But this is incorrect. Every trade has a buyer and a seller.
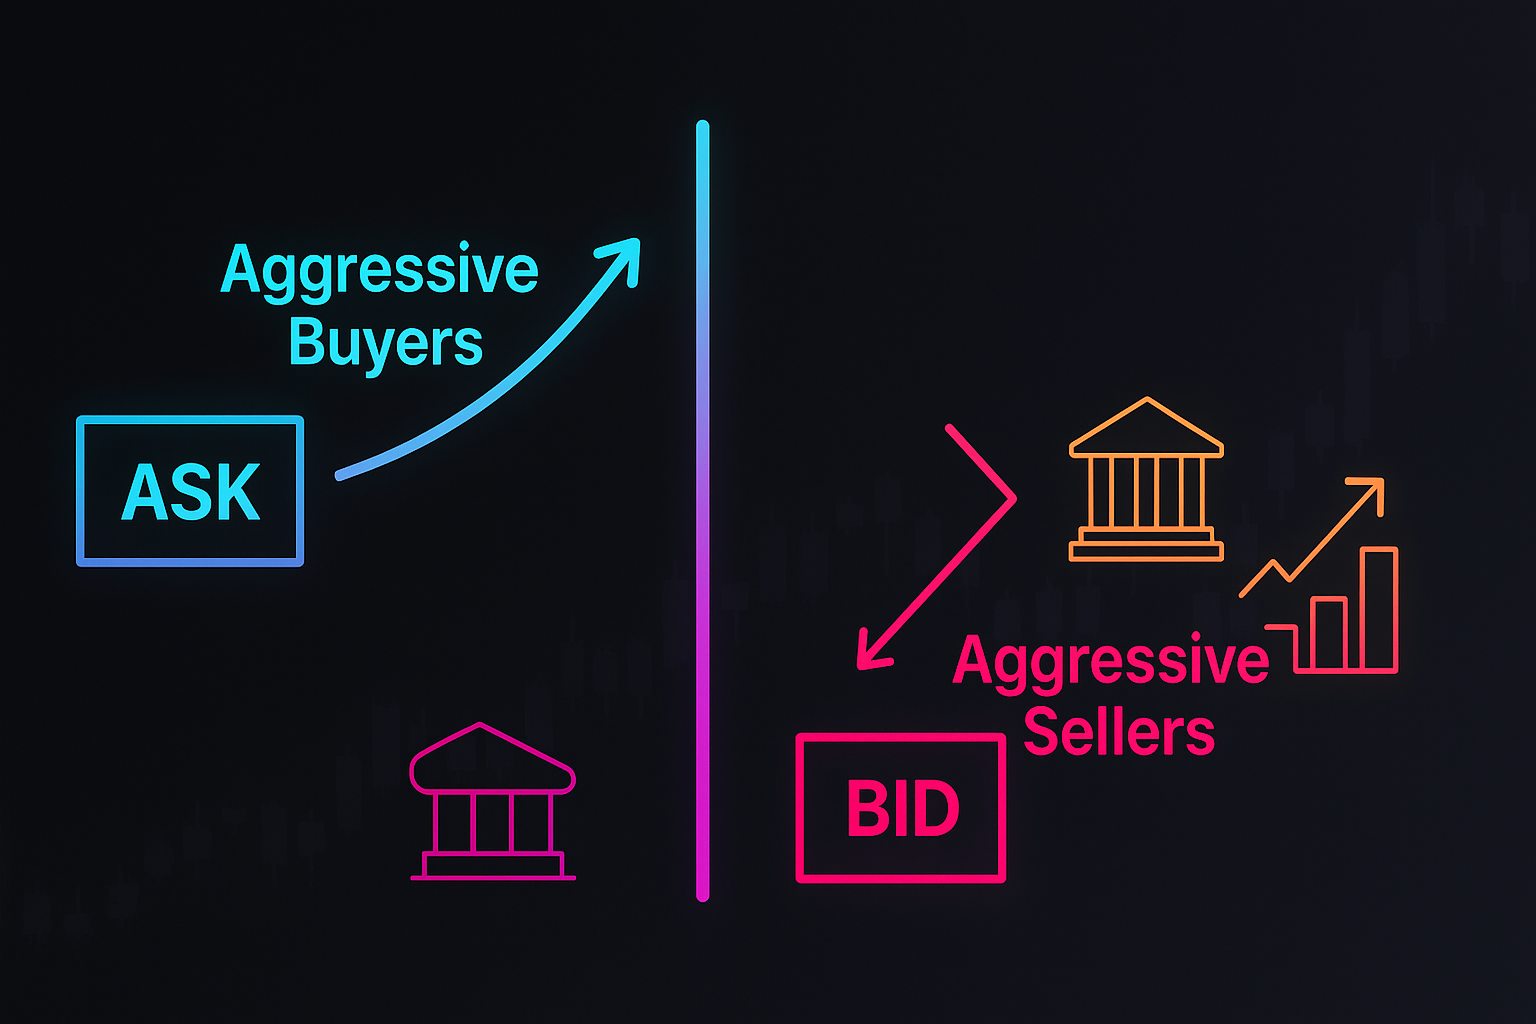
What moves the market is aggressive orderflow:
- Aggressive buyers lift the ask, causing price to move higher.
- Aggressive sellers hit the bid, driving price lower.
Institutions—banks, funds, liquidity providers—create these aggressive moves when they execute large positions. Their activity forms the basis for supply and demand zones, which traders can learn to recognize and use.
Understanding this concept helps Quant Funded traders avoid emotional decisions and instead focus on the behavior of the market’s most influential participants.
How Supply and Demand Zones Are Formed
A proper supply or demand zone originates from a brief consolidation followed by a sharp, impulsive move.
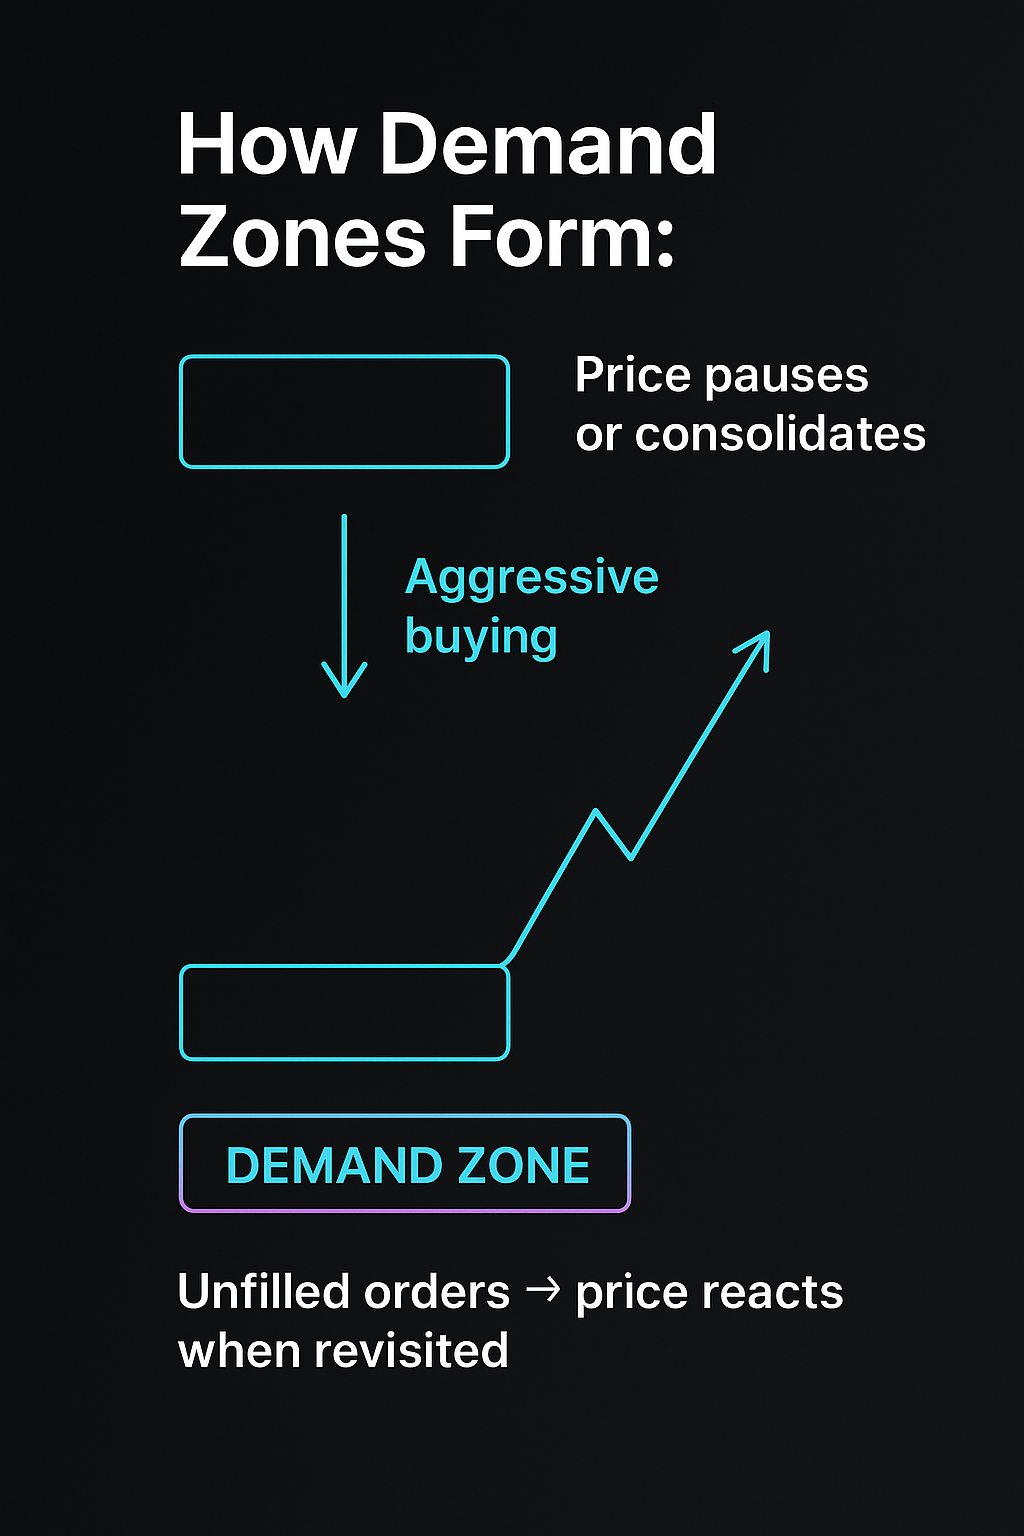
How Demand Zones Form:
- Price pauses or consolidates
- Aggressive buying enters the market
- Price rallies sharply away
→ The base of consolidation becomes a demand zone
How Supply Zones Form:
- Price consolidates
- Strong selling pressure emerges
- Price drops aggressively
→ The consolidation area becomes a supply zone
Institutions often leave unfilled buy or sell orders behind. When price returns, these orders reactivate, causing predictable price responses that prop traders can use for entries.

Why Supply and Demand Works for Prop Traders
For traders navigating a Quant Funded evaluation, this methodology offers several practical advantages:
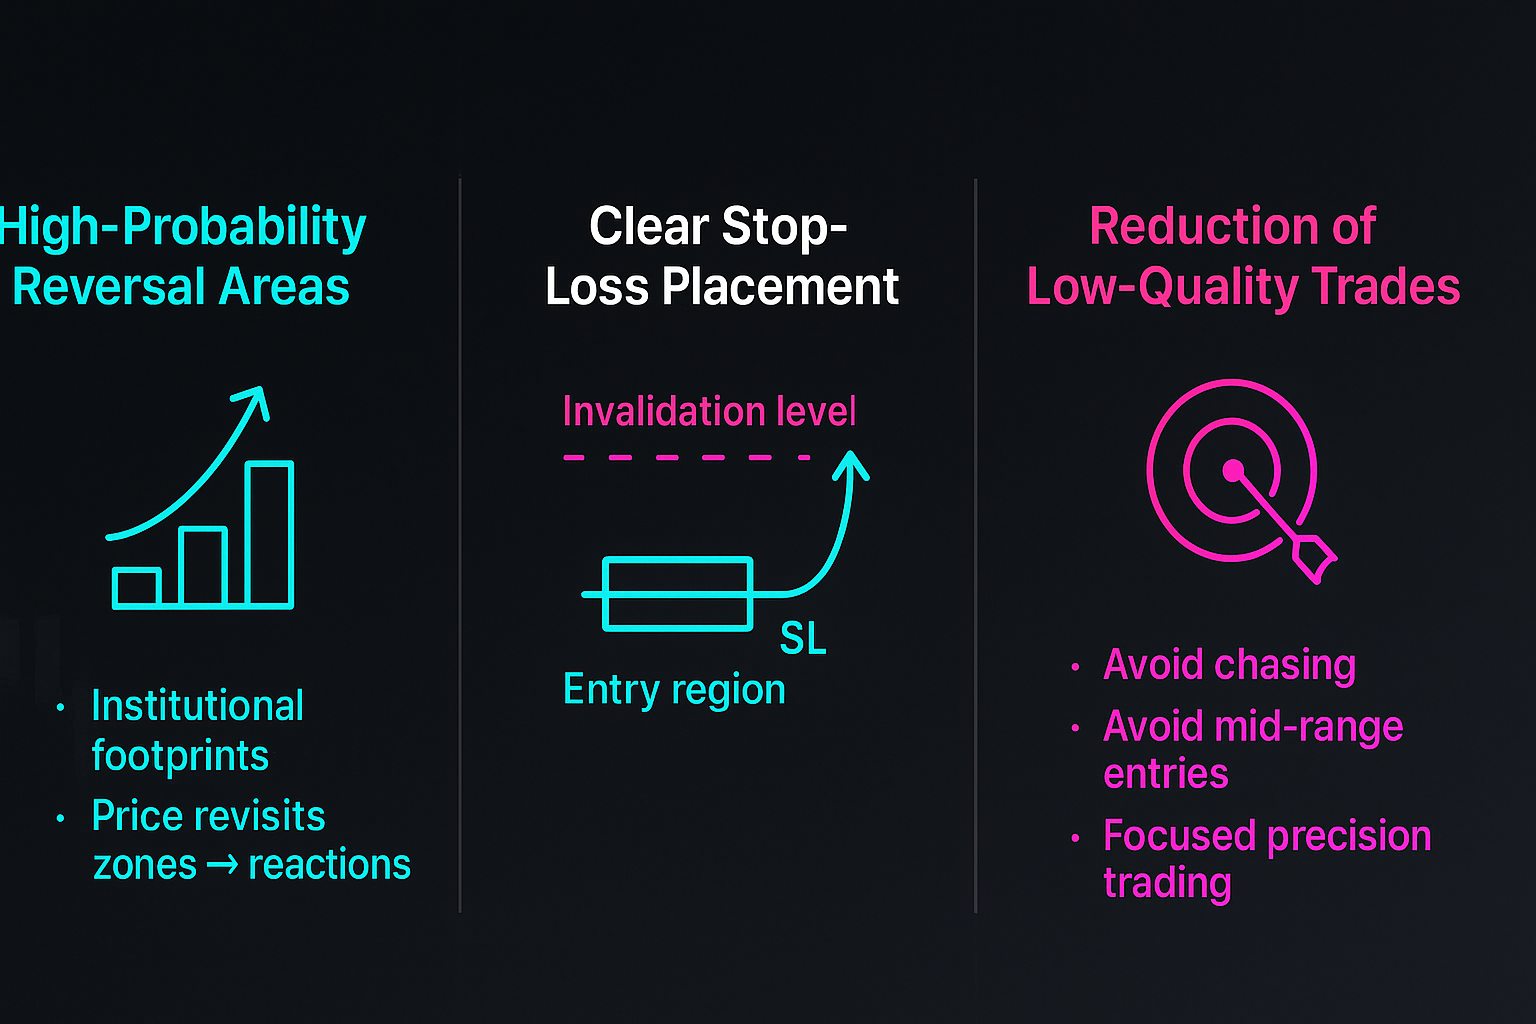
1. High-Probability Reversal Areas
Zones reveal where institutions acted before. Markets often revisit these levels to fill institutional orders, leading to clean reactions.
2. Clear, Logical Stop-Loss Placement
Supply and demand naturally define:
- Valid entry regions
- Invalidated levels
- Structural stop placements
This is perfectly aligned with Quant Funded’s strict risk management criteria.
3. Reduction of Low-Quality Trades
Understanding zones helps traders avoid:
- Chasing price
- Entering mid-range
- Trading in areas with weak institutional interest
This results in fewer but higher-quality trades—a hallmark of professional performance.
Limit Orders vs. Market Confirmation at Zones
Two main entry methods exist for supply and demand trading:
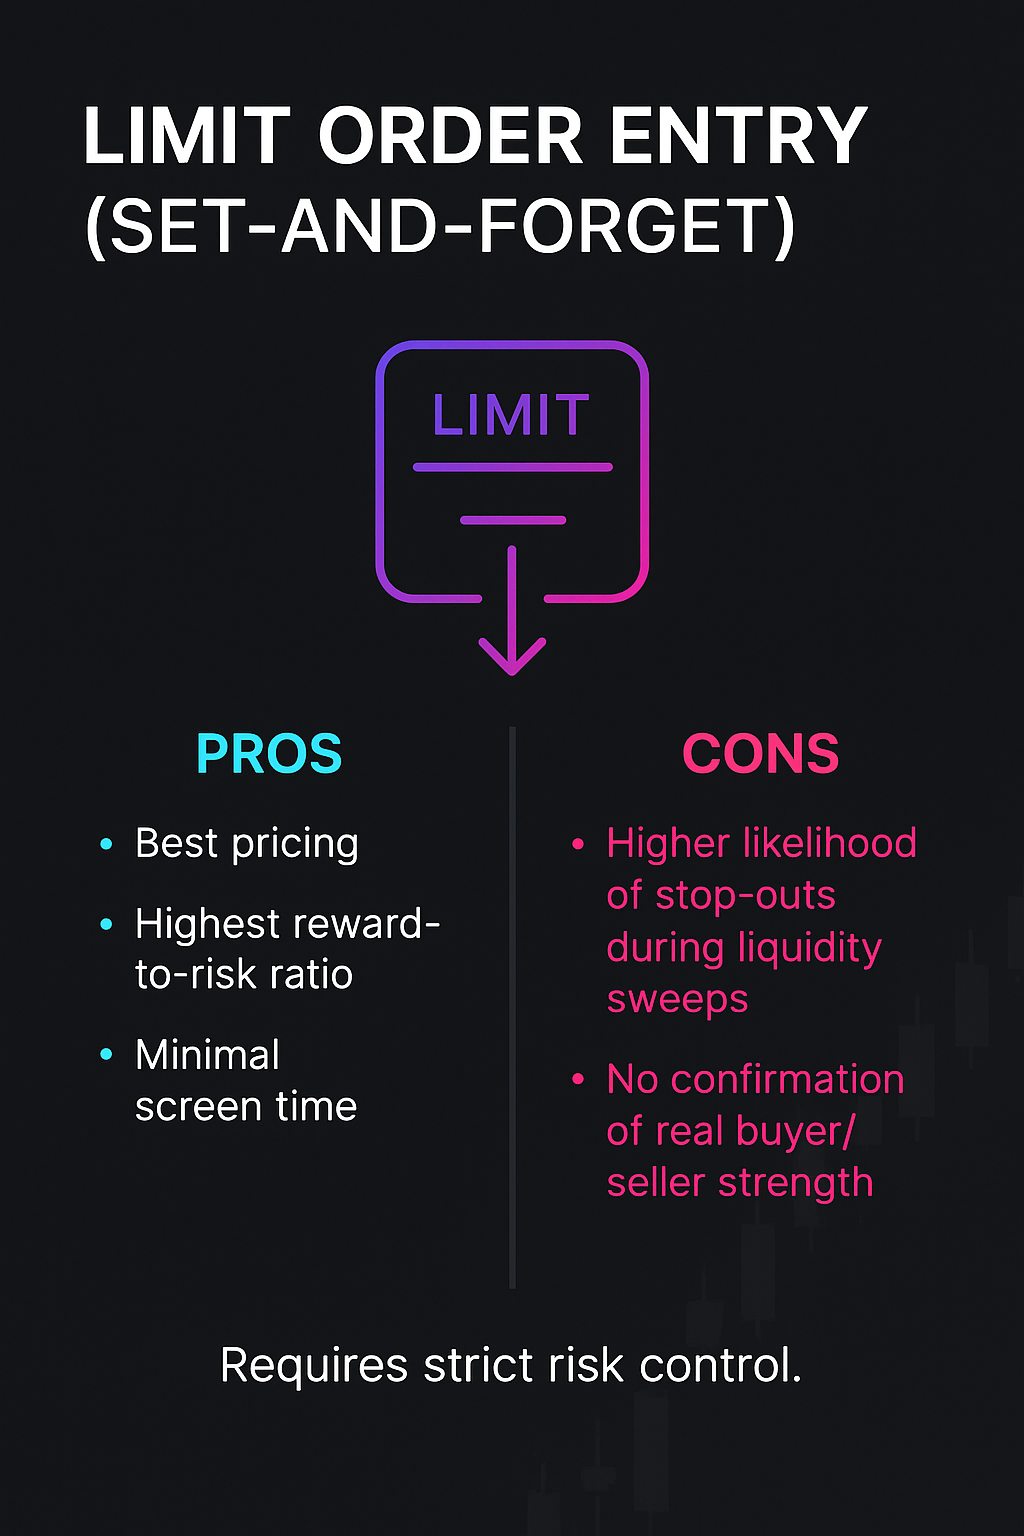
1. Limit Order Entry (Set-and-Forget)
Pros:
- Best pricing
- Highest reward-to-risk ratio
- Minimal screen time
Cons:
- Higher likelihood of stop-outs during liquidity sweeps
- No confirmation of real buyer/seller strength
This method is efficient but requires strict risk control—critical for Quant Funded traders.
2. Market Order Entry (Confirmation-Based)
Pros:
- Higher accuracy
- Clear reaction before committing
- Reduced exposure to fake-outs
Cons:
- Less favorable entry
- Lower R:R
- Requires real-time monitoring
Both methods are valid. The choice depends on trading psychology, experience, and evaluation requirements.

How to Identify Strong Supply and Demand Zones
Not all zones are worth trading. High-quality zones share several traits:
1. A Powerful Impulsive Move Away
Strong displacement indicates the presence of institutional orders.
2. Clean Consolidation
Choppy, chaotic consolidation often signals low-quality orderflow.
3. Higher-Timeframe Relevance
4H, Daily, and Weekly zones hold more weight and create more consistent reactions.
4. Time Spent Away From the Zone
The longer price avoids revisiting, the more likely unfilled orders remain.
5. Controlled Return Into the Zone
A calm retracement tends to produce better entries than a sharp spike.
These filters help eliminate weak setups and improve evaluation performance.

A Step-by-Step Approach to Trading Supply and Demand
For Quant Funded traders, a structured, rule-based approach is essential. Here’s a workflow that aligns with our evaluation guidelines:
Step 1: Determine Market Context
Is the market trending or ranging?
Zones behave differently depending on trend structure.
Step 2: Identify Valid Supply and Demand Zones
Focus on consolidations followed by strong impulses.
Step 3: Wait for Price to Return
Patience prevents unnecessary drawdown and rule violations.
Step 4: Choose Your Entry Method
Limit or confirmation, depending on your style.
Step 5: Place Stop-Loss Outside the Opposite Edge
Stops must always sit beyond the zone’s invalidation.
Step 6: Set Realistic Targets
Common targets include:
- Opposing supply/demand zones
- Liquidity pools
- Previous highs/lows
This method creates consistency—one of the main qualities Quant Funded evaluates.
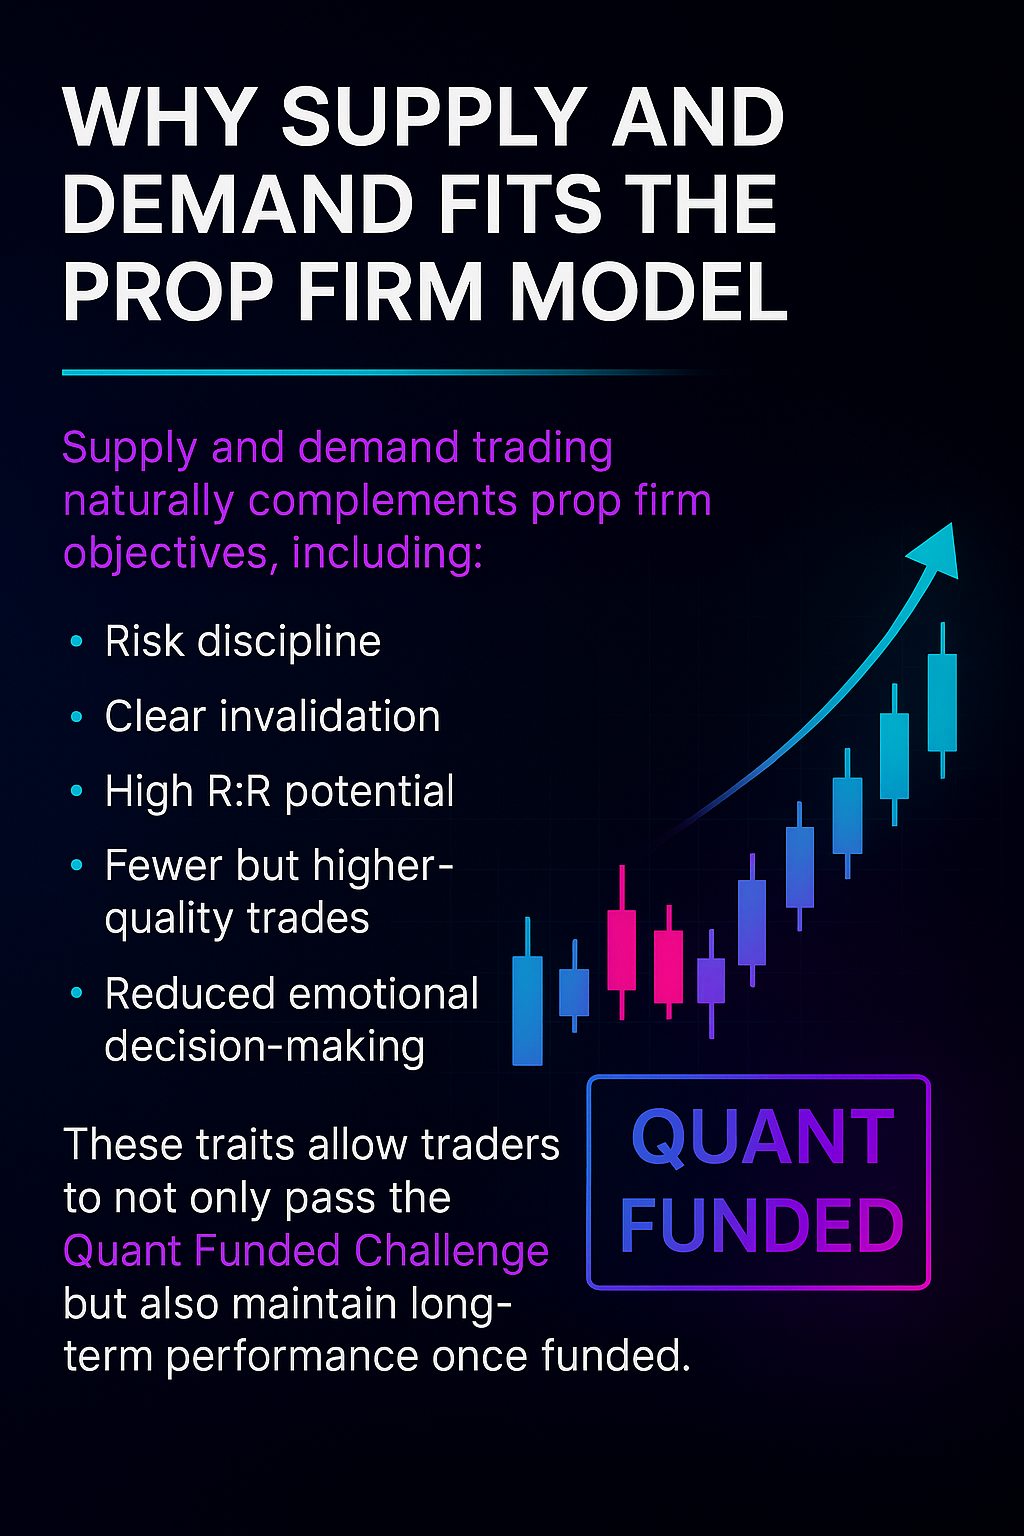
Why Supply and Demand Fits the Prop Firm Model
Supply and demand trading naturally complements prop firm objectives, including:
- Risk discipline
- Clear invalidation
- High R:R potential
- Fewer but higher-quality trades
- Reduced emotional decision-making
These traits allow traders to not only pass the Quant Funded Challenge but also maintain long-term performance once funded.
Final Thoughts
Supply and demand trading offers a logical, transparent approach to understanding market behavior. By focusing on where institutional orders originate and how price reacts to those areas, traders gain a deeper understanding of market structure—far more reliable than chasing indicators.
At Quant Funded, we encourage traders to build a disciplined, rules-based strategy around proven concepts like supply and demand. Mastering this methodology can dramatically improve consistency, risk control, and overall performance throughout the Evaluation and Funded Phases.